The Gadessa is now complete! Took a little work to complete those buggered up prongs, but I was quite pleased with how well I managed to scratch-build those prongs. Its a little dodgy and wonky in places but you would have to look quite closely to notice the defects.. and it would have been nice to add a metallic detail part here and there.
All in all, I think the model turned out well although I could have possibly spent more time working on the details - the thrusters for instance I could have masked off and added a gold metallic effect on. On retrospect, I think the emerald green and gold would have been a nice combination.
Here are a few pix of the completed model:
..And here is my final (and very short) WIP video on youtube:
I was aiming to conclude this model this weekend but as fate has it, I ran into a little bit of a problem...
The 3 "prongs" that attach to the main weapon were all painted up in gunmetal, with a coating of clear black (as I felt most of the gunmetal parts, after priming were a little too light) were masked so I could paint the inner "rail" yellow. Unfortunately I masked way too early and did not allow enough time for the acrylic to fully cure.. as a result, after painting the mask the paint peeled off along with the masking tape, leaving a patchy, horrid finish. Needed to all be stripped off, and started again.
Anyway, I decided to dunk all 3 parts into lacquer thinner - massive mistake . after a few mins an icky, sticky ness appeared, and as I wiped off the excess it was very apparent that the plastic has melted real bad..
As you will see in the following vid, I had to scratch build the prongs all over again...
Apart from that, the main model is looking good. The panel lining turned out good, if a little dirty and some finer details have been added. Now all it needs is a gloss coat, and its more or less done.
Completion hopefully next week, I just need to figure out a mechanism to attach the prongs to the main body of the weapon.. I don;t think I am doing too bad considering its my first ever time I have had to scratch build parts!
Having put the Geara Zulu on ice (need to give thought as to whether I need to strip it of its paint or not) I have embarked on starting the awesome looking HG Gadessa from Gundam 00.
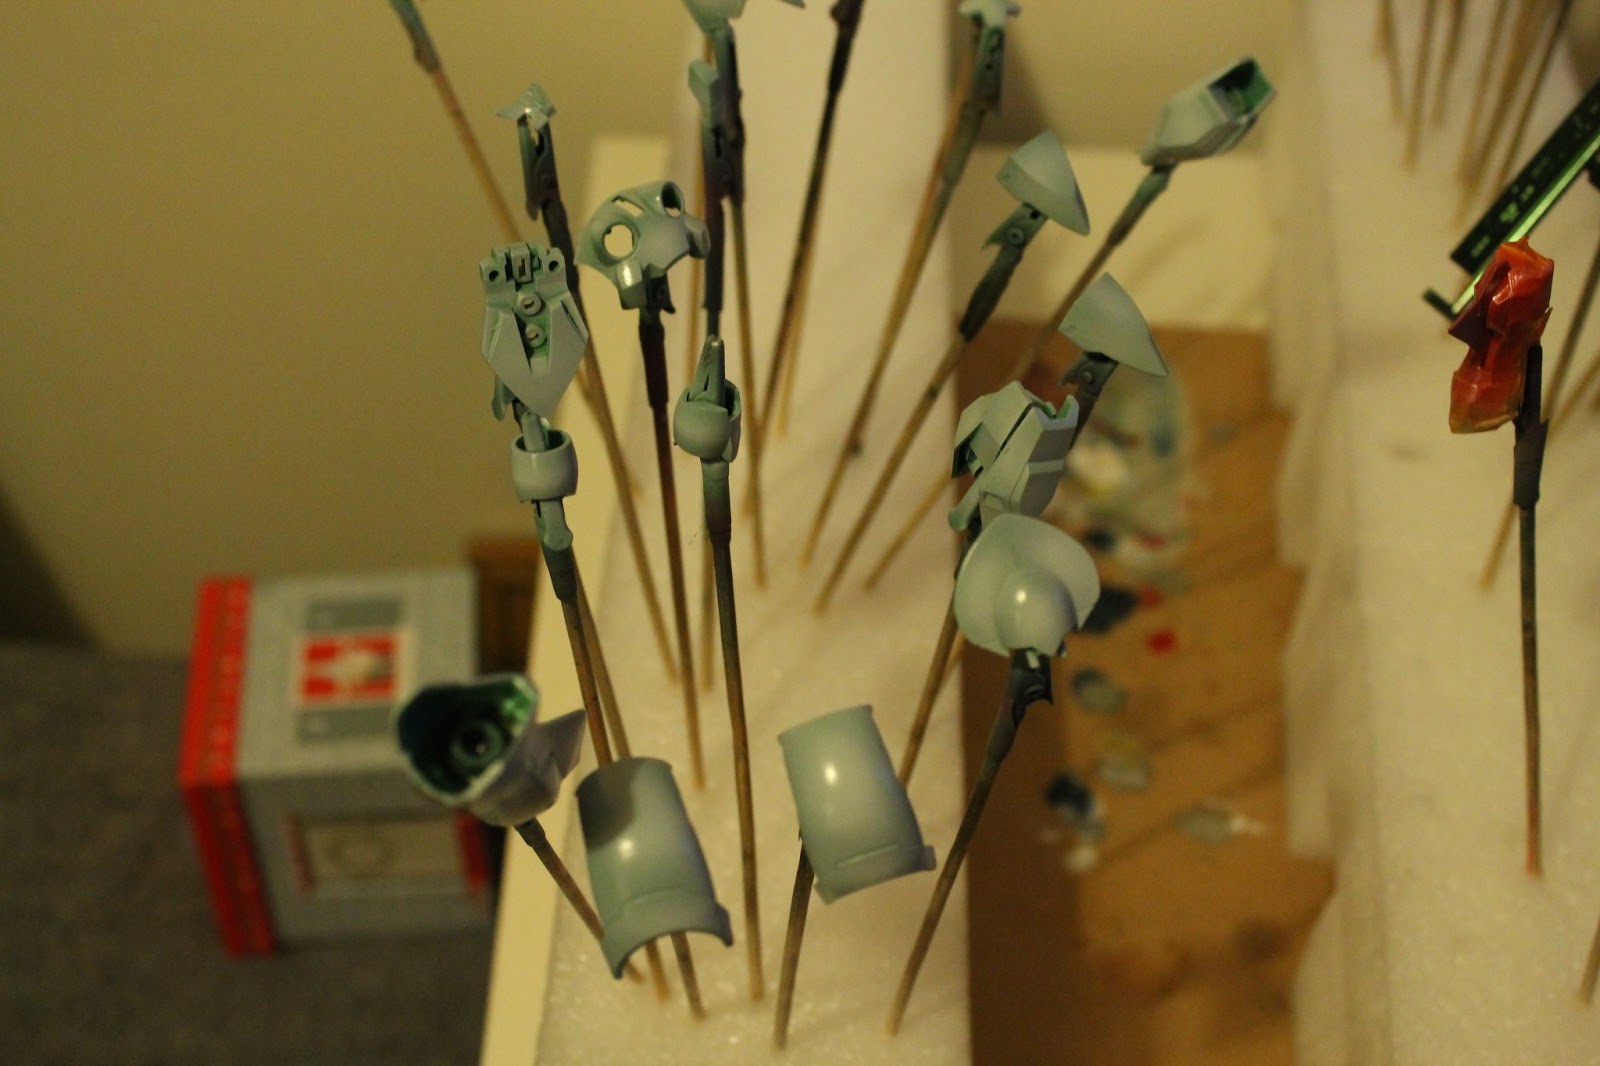
Having taken a long look at the cover artwork, and being somewhat inspired by recent views by other modellers I thought I would try something a little different, and go metallic on some parts. The idea formulated is over complex, just decided to make all of the pale-green parts a deep, emerald green.
Here are a few picture of how it is going so far, followed by a short video:
Hello Gunplanatics! It's been an action packed weekend of blowing up balloons, wrapping presents and putting up decorations in celebration of my sons 3rd birthday, so not much Gunpla wise has actually happened. Despite that, I did receive some new things from HLJ, and purchased some amazingly awesome things in the recent sales, even though I can't really afford it.
Anyways, here is a short video of me rambling in your face about stuff:
Ryurai kai continues this coming weekend with some detailing, panel lining and decalling. Should have it all wrapped up pretty soon.
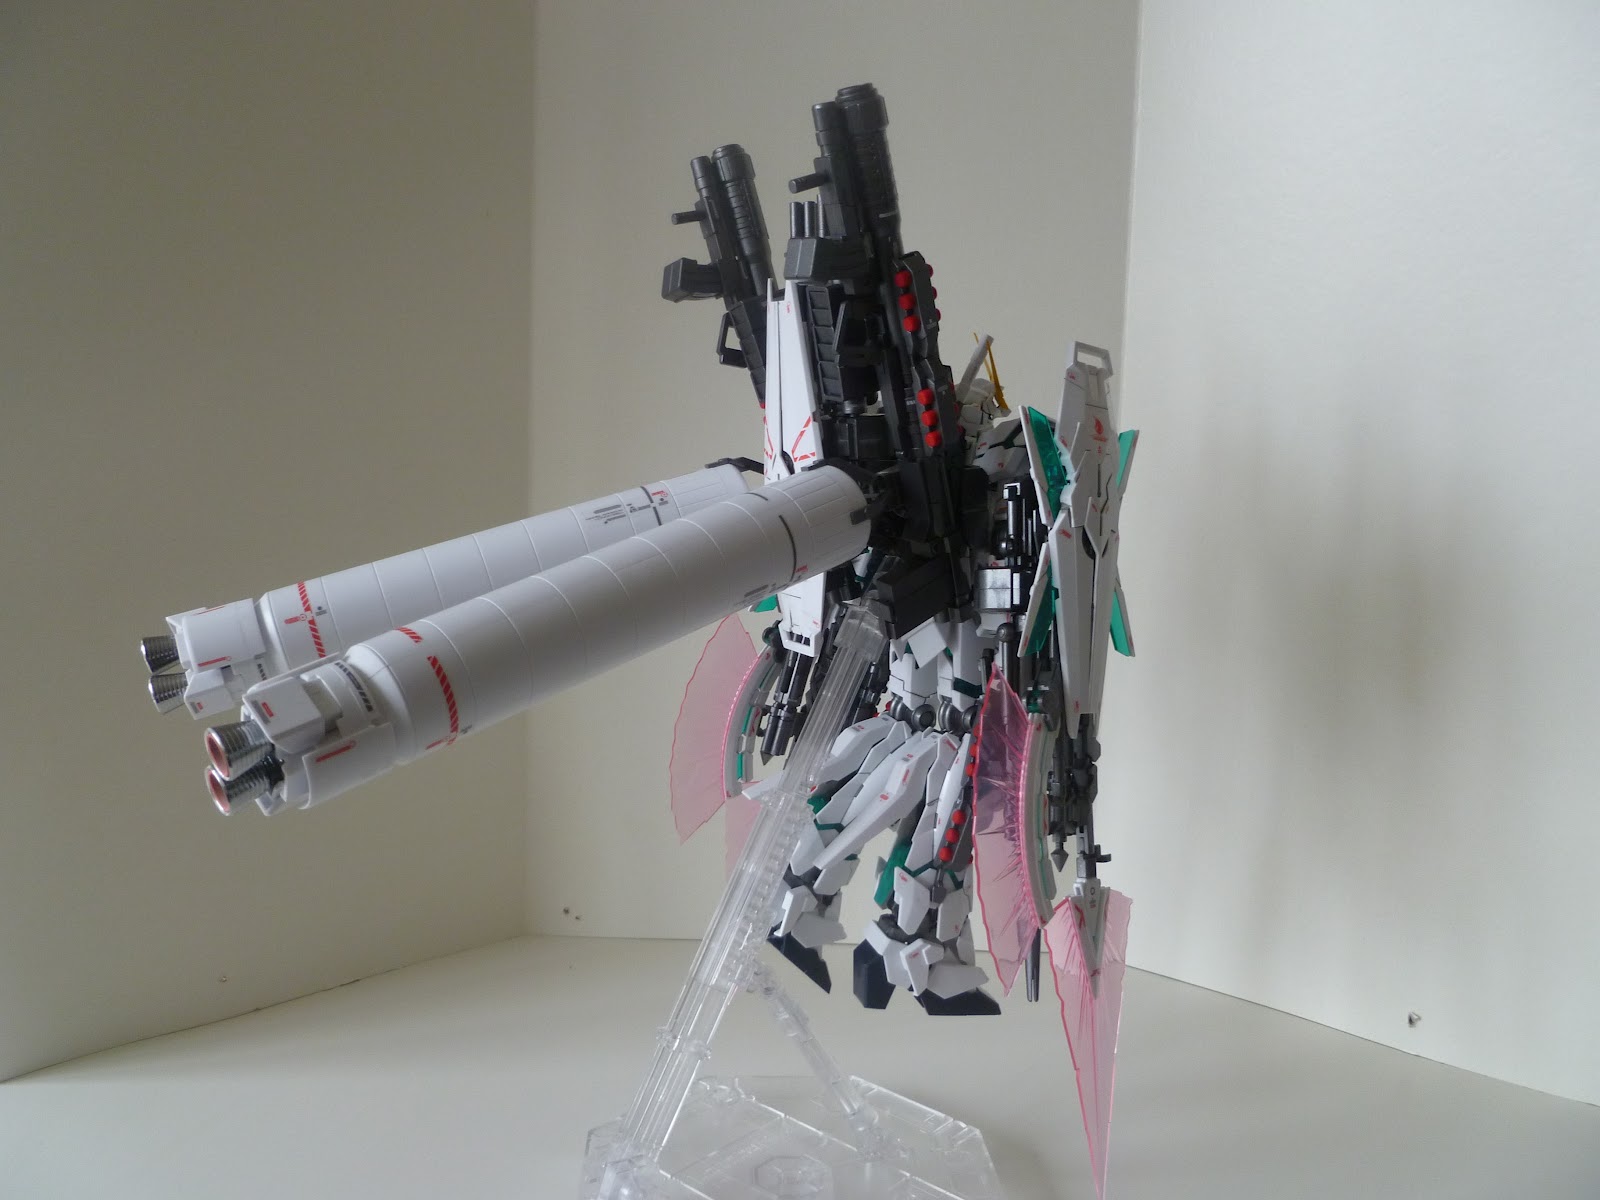
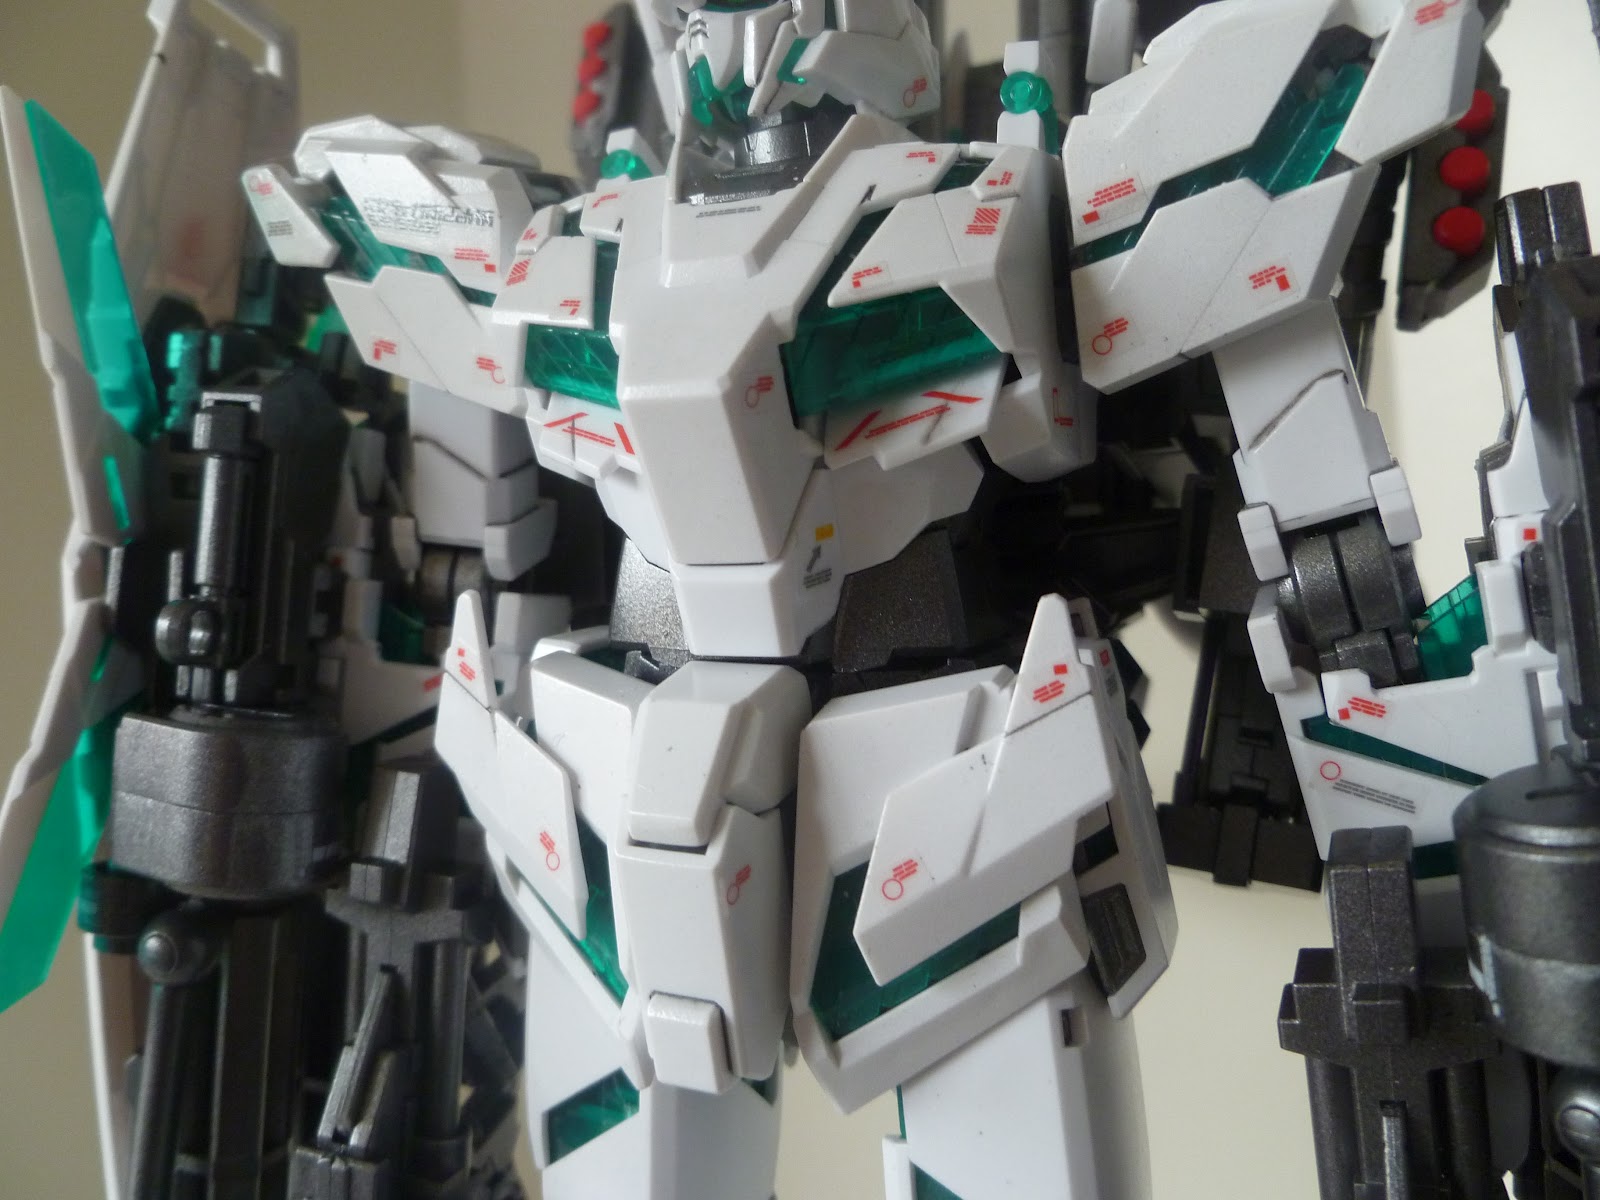
Finally, completed. I say completed, I omitted various dry-rub transfers from the final kit due to the fact they were infinitely irritating to apply. For this kit I used mostly Gun metal and white Tamiya acrylics - a little Alclad II for the thruster parts - mixed a little flat base clear with red to create the "ceramic" looking inner-thrusters in the base jabbers massive boosters. Several hours of decal marking.. a couple of topcoats to make it look more sparkly, some decidedly dodgy panel lining (yep, still need some work on building this skill, the main element being patience - rushing it really will yield crap results) and et viola. Pix below.
Wohoo! At last.. the box is incredibly weighty and I am somewhat daunted by the sheer volume of runners in this kit.. its going to be a heck of a long build but I cant wait. WIP coming soon as I start this.
Quick one this, and one I have made a little video of on the youtube channel. This is the Throne Eins from Gundam 00, quite an unusual and somewhat feminine looking thing. Varied the colour a little by adding some dark yellow, metallic red and aluminium instead of its default light grey. Pleased with how this one turned out too. Vid of the whole thing at the bottom of this post :)
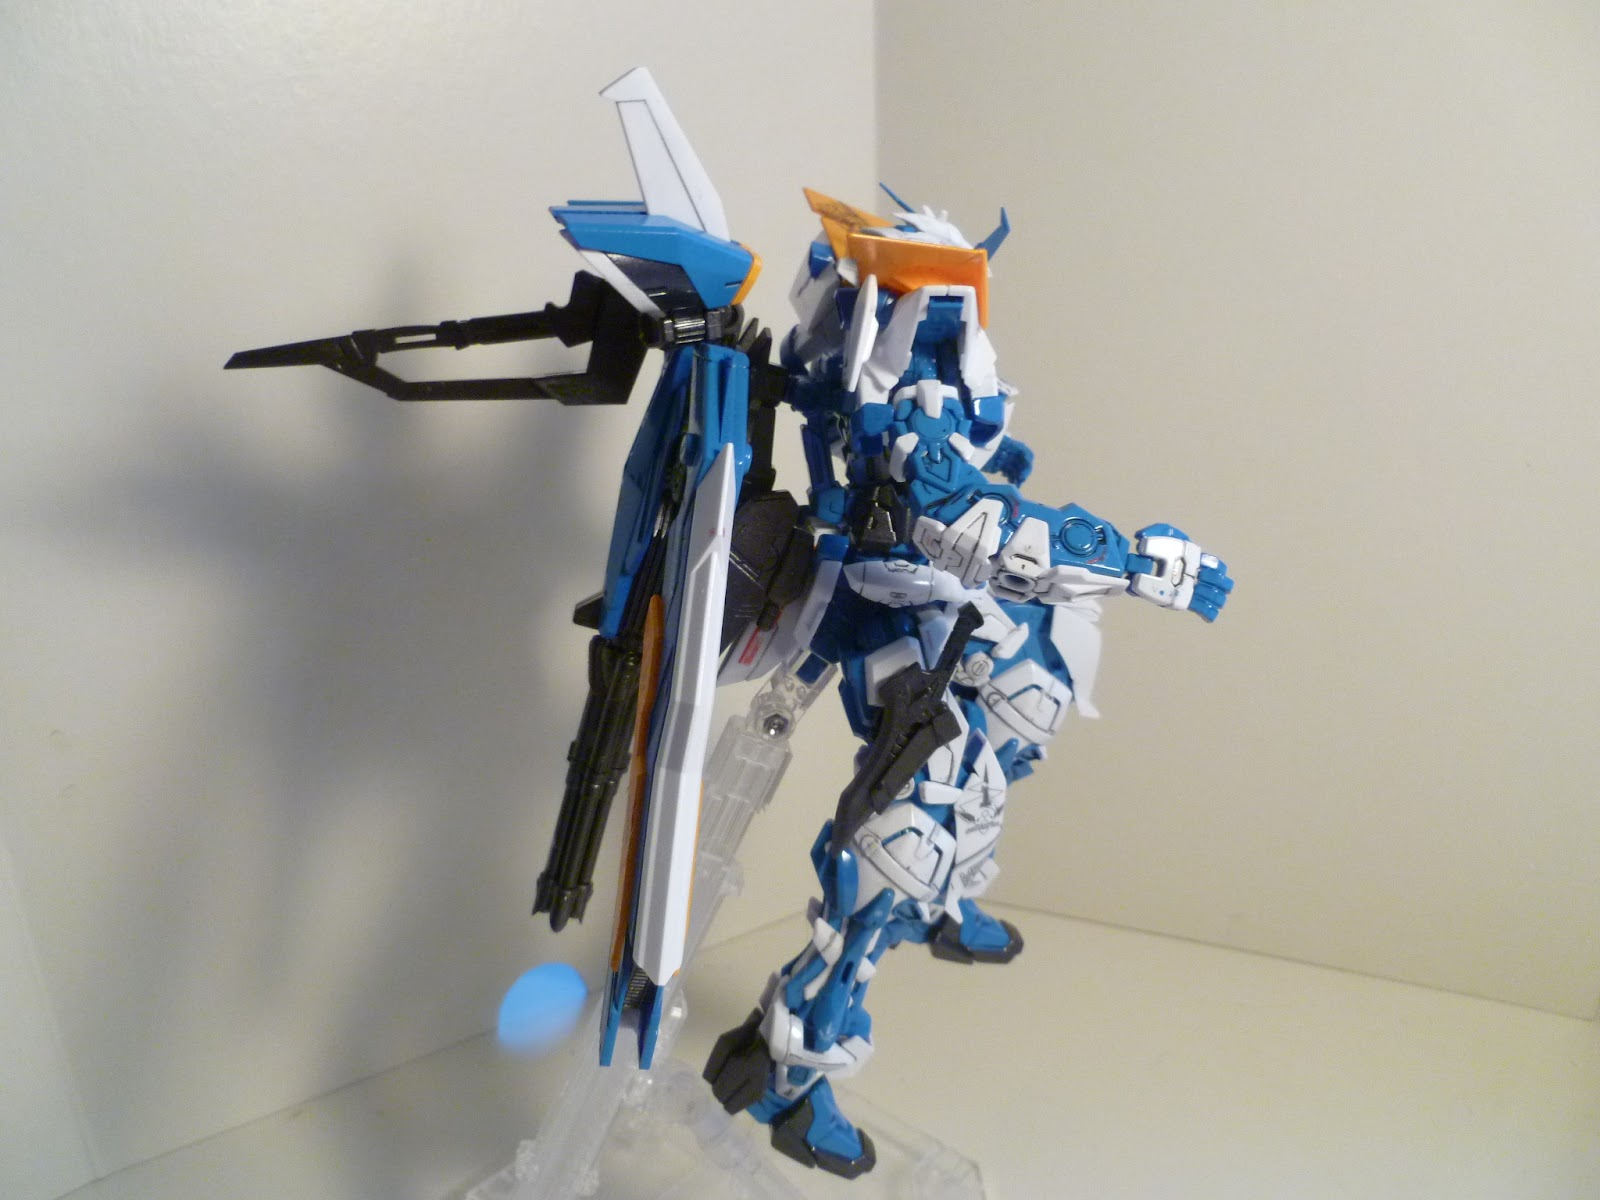
After.. 8 weeks of working/tormenting on the Gundam Astry Blueframe Revise 1/100 Master grade, it is finally done. For my first MG, I don't think it turned out that bad, and impressed myself on how well the decalling went considering I have never done it before.
A few things went wrong.. if you have been reading my previous posts you will remember the tiny plastic clasps that held the fingers and thumb in place on each hand had disintegrated, hence now Blueframe has no ability to hold any weapons hence the constant flight mode.
The panel lining for this was a little all over the place. I have been experimenting with various washes for a while and though I got to grips with it when panel-lining the head part, turned out a little "dirty" looking as the panel lines did not suck through the paint too well, and turned out a little lighter than I wished for. I will persevere on getting that golden thinner-to-paint radio correct. The rest of the models panel lines were done with a gundam marker.
Some decals peeled off a little and went dry, replaced these on the worst instances with thin stickers provided with the Blueframe in box.
Gave it all a nice glossy coat for a change, normally I prefer the matt finish but because the experimental panel lining did not go to plan, a matt finish would really show up the dirty bits unless you were standing a good 10 feet away from it..
That's about it really.. not 8 weeks of solid work as most of that was spent waiting for my old supplier to send me the paints I had bought. Anyways, down to what it looks like. A real labour of love this :) A little vid at the bottom too.