I finally completed the 1/144 HG Jesta "boards of canada" custom, did not take that long and managed to squeeze in a few bouts of painting and detailing in between preparing for our new arrival in a weeks time :)
A few things learned from this - Do not use black to preshade bright colours, especially yellows.. it took 3 coats of yellow resulting in a little thickness to the coat to cover the shading effectively - up close it's still looking a little mottled but overall it fits in OK. I remember reading some advice from fellow youtuber jiminboo on a comment on another video saying you should never use black - serves me right for not paying attention!
Here is the video for the entry, of course you can view all the pictures on the GundamUK site (Which I might add, the site revamp is now almost 90% completed, more news on this later).
Stay tuned for some more blog entries soon, my next project is going to be BIG.
This weekend, I finally completed the F91. Pretty happy with how this turned out, despite the horrific smudge created on the underside of the cannon (which shall never be seen luckily due to its current pose). The base turned out OK despite the dodgy masking..
Here's a few pix:
And a little vid, which I might add is mostly the pictures above :)
An incredibly unproductive weekend due to numerous unforeseen circumstances. Unfortunately Mrs.GundamUK has done something funny to her knee, and as a result I am having to take up the reigns of her usual tasks such as shopping, cooking and taking master GundamUK to nursery. Gunpla time has suffered - and aside from that I am experiencing a bad shortage of acrylic thinner so no work can currently progress on the F91.
On the plsu side however I have managed to dedicate a little time to planning out my mecha lounge chaos GB entry, the Kagustuchi Kou.
I am going to try out something a little more daring than my usual builds - I will be scratch-building some additional weaponry, and trying out some new damage and weathering effects. My original idea was to have a dio, but with my time limited and a June deadline I may reduce this to a simple plinth.
I have begun sanding and cleaning parts - the model itself is actually quite simple and the number of parts lies somewhere between a HG and MG, at a large HG scale. Assembly should be a breeze, and I already do not forsee any requirement for seam line removal. Some pix below along with some koto parts I will be using for the additional weaponry. I have also taken the liberty of purchasing a stack load of styrene rods and such from a good 'ol Chinese ebay-er. Delivery time will be somewhat lengthy but by golly gosh I have saved some bunts. Seriously, from a UK seller, 5x .2mm rods for nearly 9 quid including shipping? Fuck off. How about 48 from a Chinese seller for only a tenner? Hell yes. No wonder model shops are a dieing breed here in the UK. There all greedy bastards. lol.
More of the same really this weekend, mostly armour parts. Did not get as much done as expected due to time constraint but managed to fully assemble the legs and arms. Have now completed around 80% of the painting with only the cannons to be completed now. Lots and lots of panel lining and detailing to come, as well as those lovely, iconic F91 decals! (can't wait..).
Here's a few pics:
Arms, Legs, Bazooka
Hello
Left: completed shoulder bits, Right: Preshaded body parts waiting another coat of white.
Blue body part, hard to see the shading on this though..
Having completed the inner frame parts of the legs (well, mostly bar some additional things I would like to do once the whole inner frame is completed) I worked on the inner frame parts for the torso and head.
This complete, I thought I should start working on the armour parts for the legs. Unfortunately they did not turn out as expected, but none the less are mostly done.
Having applied the primer a little thick on some parts (and regrettably not sanding them smooth as you are supposed to), adding the first base coat of white created a bit of a mottled finish, so I added another layer of white to smooth it out a little. Worked to a degree - then I decided to do a little pre shading - a technique I am new to. This to, resulted in a bit of a mottled finish but much smoother. All that remains now it to add a top layer of white to smooth it all out, hopefully this will fix it because right now it looks terrible..
Sorry for the lack of video this week.. I did film some but today's and yesterdays work took a ridiculous amount of time.. so much in fact I did not have time to cut a video, so next weeks will (hopefully) be a kind of "double" WIP.
Having put the Geara Zulu on ice (need to give thought as to whether I need to strip it of its paint or not) I have embarked on starting the awesome looking HG Gadessa from Gundam 00.
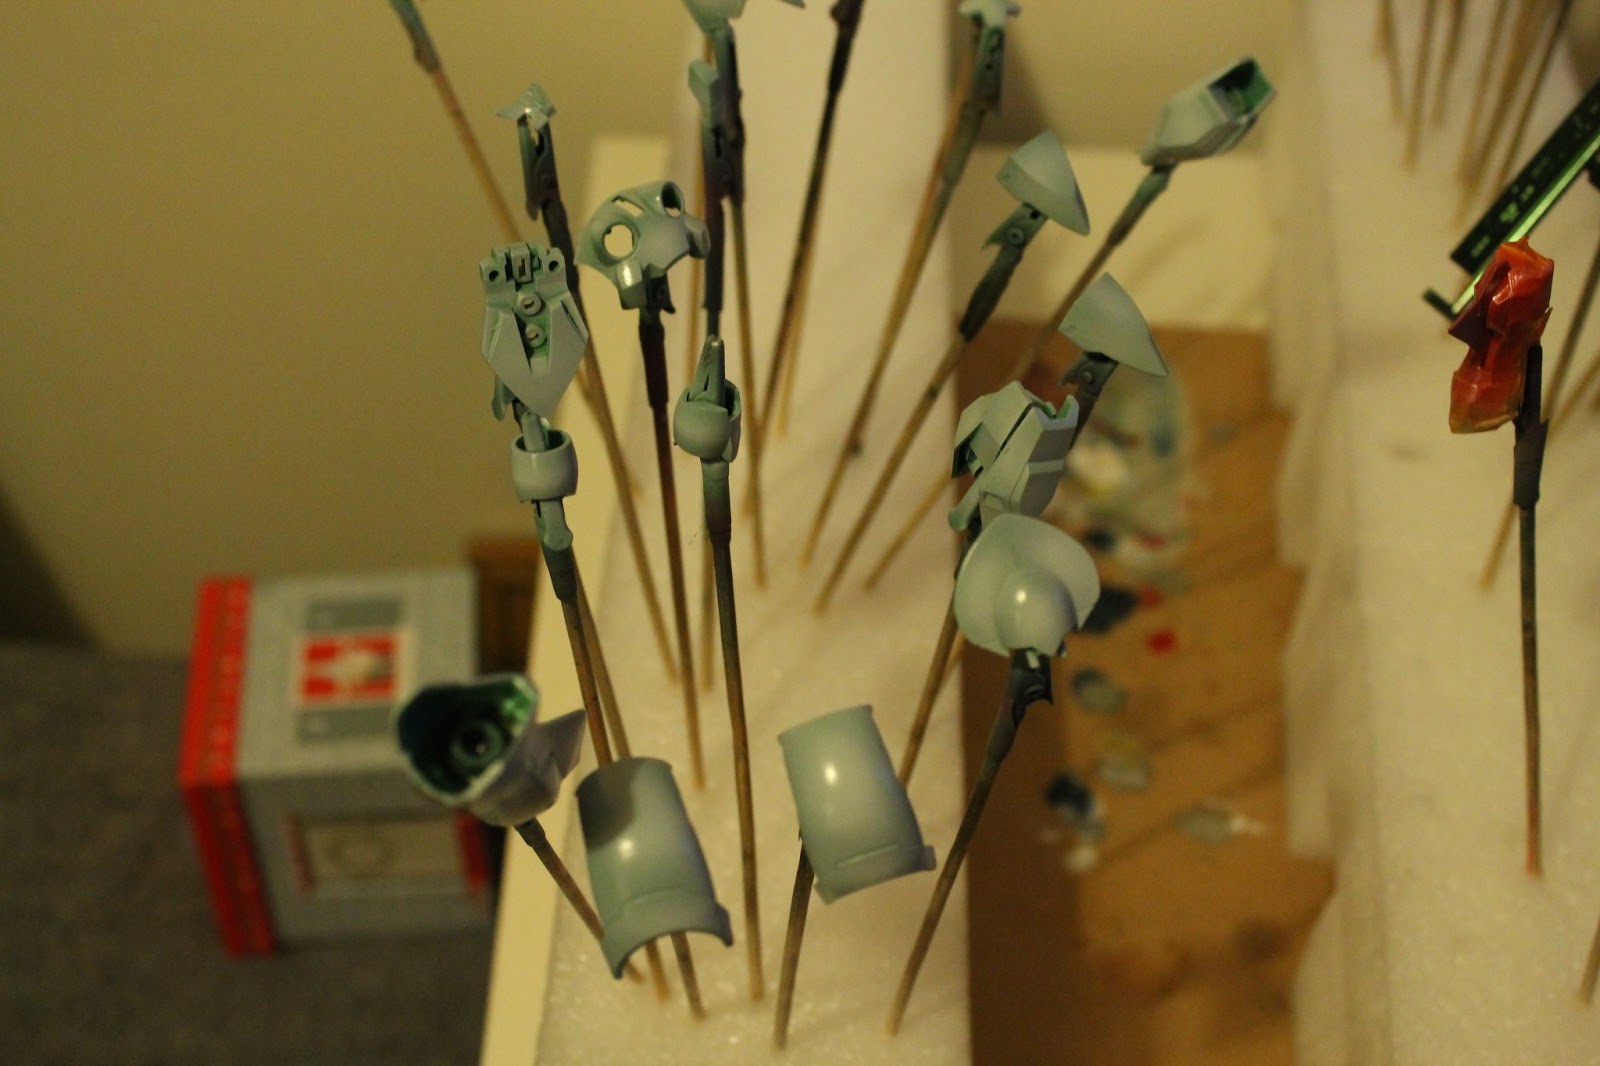
Having taken a long look at the cover artwork, and being somewhat inspired by recent views by other modellers I thought I would try something a little different, and go metallic on some parts. The idea formulated is over complex, just decided to make all of the pale-green parts a deep, emerald green.
Here are a few picture of how it is going so far, followed by a short video:
The festive period provided me with lots of time to get the Rick Dias done, all in all taking only 6 days to complete on and off :)
Things that turned out well: The red armour parts I was very pleased with, initially I thought I had mixed up the highlighting red too pink, but it was thin enough to not cover the red entirely, so the final effect was a nice "char" style highlight.
Things that went OK: The grey and black parts. The finish could have been a little better but that was down tot he primer mainly :)
Thanks that did not go so well: The thrusters.. I have no idea why I thought spraying alclad II chrome, over a matt finish primer would result in a chrome finish.. I neglected to add a coat of gloss enamel and thus it took several hours for the alclad to dry, in a more "brushed steel" look than the chrome I was after. Hey ho, you live and learn. I also primed some gunmetal parts in white, resulting in some gunmetal parts coming out very silvery. Did not matter too much however due to it being on the inner frame, and the silvery-ness of the gunmetal actually looked pretty good on the models piping.
The result: Pretty happy actually, once the matt topcoat was added it all came together. The MS design itself is incredibly sturdy, and although one of the right arm joints was loose it did not really pose a problem when it came to attaching the clay cannon. Really enjoyed this build, and would totally recommend it to anyone else looking to build an MG. Definitely one of my favourite builds so far.
Enough talking, here's some pictures!
I also took the liberty to film this build from start to end, so if you like here's how I did it!