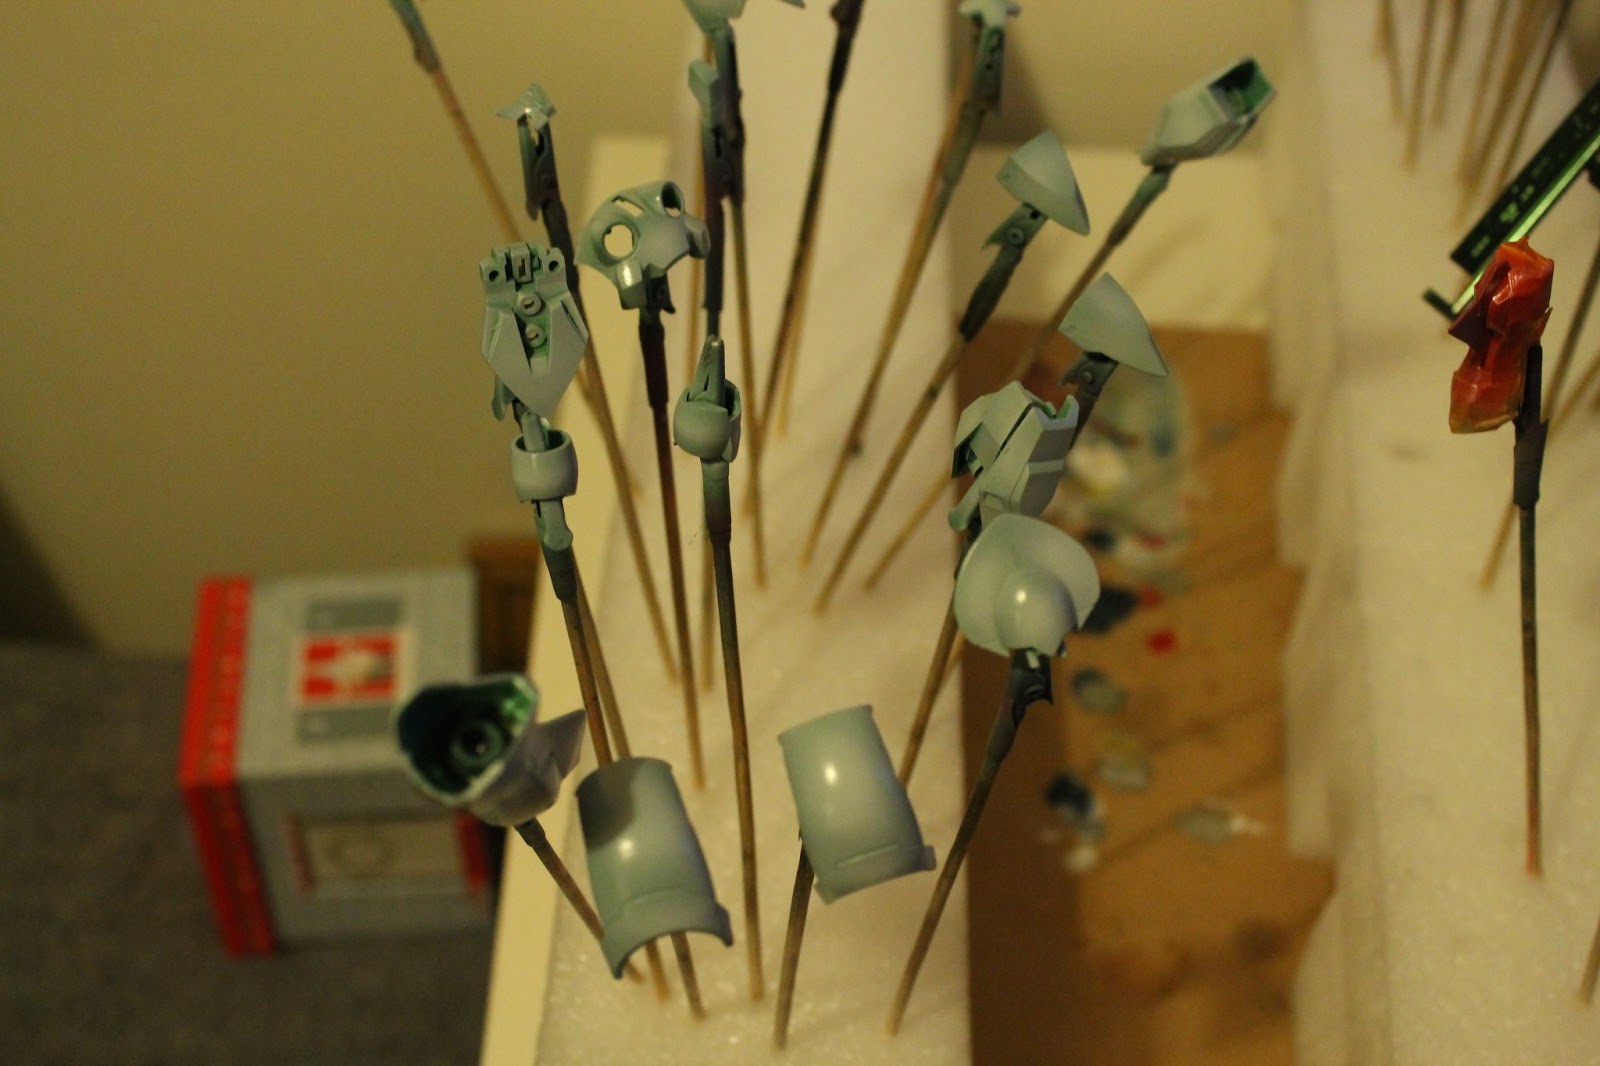
..and here's some pix of the assembled legs, minus the feet and pistons. Its coming together.. I think I should be done with the bulk of the painting next week. 2 weeks I think till completion :)
Working on a bit of a re-vamp of the old looks of GundamUK, here on the blog, the site, and on the youtube (and wherever else I happen to lurk). The below is something I have been playing around with, its a very short intro sequence test for future vids.
I also made this mock today, which will possibly be the new backdrop of the site and this here blog..
Which still I might add needs a little refining.. this will take time. Here is the intro vid:
I also posted up a Gunpla Update today showing off some models I recently received as well as other news (including that awesome londo bell badge sent to be by Tian Hong!).
And yet another vid should be coming tomorrow for the WIP#2 of the F91. Phew, busy weekend!
Having completed the inner frame parts of the legs (well, mostly bar some additional things I would like to do once the whole inner frame is completed) I worked on the inner frame parts for the torso and head.
This complete, I thought I should start working on the armour parts for the legs. Unfortunately they did not turn out as expected, but none the less are mostly done.
Having applied the primer a little thick on some parts (and regrettably not sanding them smooth as you are supposed to), adding the first base coat of white created a bit of a mottled finish, so I added another layer of white to smooth it out a little. Worked to a degree - then I decided to do a little pre shading - a technique I am new to. This to, resulted in a bit of a mottled finish but much smoother. All that remains now it to add a top layer of white to smooth it all out, hopefully this will fix it because right now it looks terrible..
Sorry for the lack of video this week.. I did film some but today's and yesterdays work took a ridiculous amount of time.. so much in fact I did not have time to cut a video, so next weeks will (hopefully) be a kind of "double" WIP.
I started this one around 3 months ago, assembled, cleaned and de-nubbed but have only now got around to painting it.. partly because I wanted to do a good job of it :)
Started out with the inner-frame parts of the legs, the intention being to have it mainly in metallic blue, and some parts in gold/silver for a little detail. So far I have done all the main painting, and all that remains now is to gloss coat and panel line.
Here are a few pics of the work so far:
F91, preassembly, 3 months back.
There is also quite a long vid for you to gander at here:
The Gadessa is now complete! Took a little work to complete those buggered up prongs, but I was quite pleased with how well I managed to scratch-build those prongs. Its a little dodgy and wonky in places but you would have to look quite closely to notice the defects.. and it would have been nice to add a metallic detail part here and there.
All in all, I think the model turned out well although I could have possibly spent more time working on the details - the thrusters for instance I could have masked off and added a gold metallic effect on. On retrospect, I think the emerald green and gold would have been a nice combination.
Here are a few pix of the completed model:
..And here is my final (and very short) WIP video on youtube:
I was aiming to conclude this model this weekend but as fate has it, I ran into a little bit of a problem...
The 3 "prongs" that attach to the main weapon were all painted up in gunmetal, with a coating of clear black (as I felt most of the gunmetal parts, after priming were a little too light) were masked so I could paint the inner "rail" yellow. Unfortunately I masked way too early and did not allow enough time for the acrylic to fully cure.. as a result, after painting the mask the paint peeled off along with the masking tape, leaving a patchy, horrid finish. Needed to all be stripped off, and started again.
Anyway, I decided to dunk all 3 parts into lacquer thinner - massive mistake . after a few mins an icky, sticky ness appeared, and as I wiped off the excess it was very apparent that the plastic has melted real bad..
As you will see in the following vid, I had to scratch build the prongs all over again...
Apart from that, the main model is looking good. The panel lining turned out good, if a little dirty and some finer details have been added. Now all it needs is a gloss coat, and its more or less done.
Completion hopefully next week, I just need to figure out a mechanism to attach the prongs to the main body of the weapon.. I don;t think I am doing too bad considering its my first ever time I have had to scratch build parts!
Having put the Geara Zulu on ice (need to give thought as to whether I need to strip it of its paint or not) I have embarked on starting the awesome looking HG Gadessa from Gundam 00.
Having taken a long look at the cover artwork, and being somewhat inspired by recent views by other modellers I thought I would try something a little different, and go metallic on some parts. The idea formulated is over complex, just decided to make all of the pale-green parts a deep, emerald green.
Here are a few picture of how it is going so far, followed by a short video: