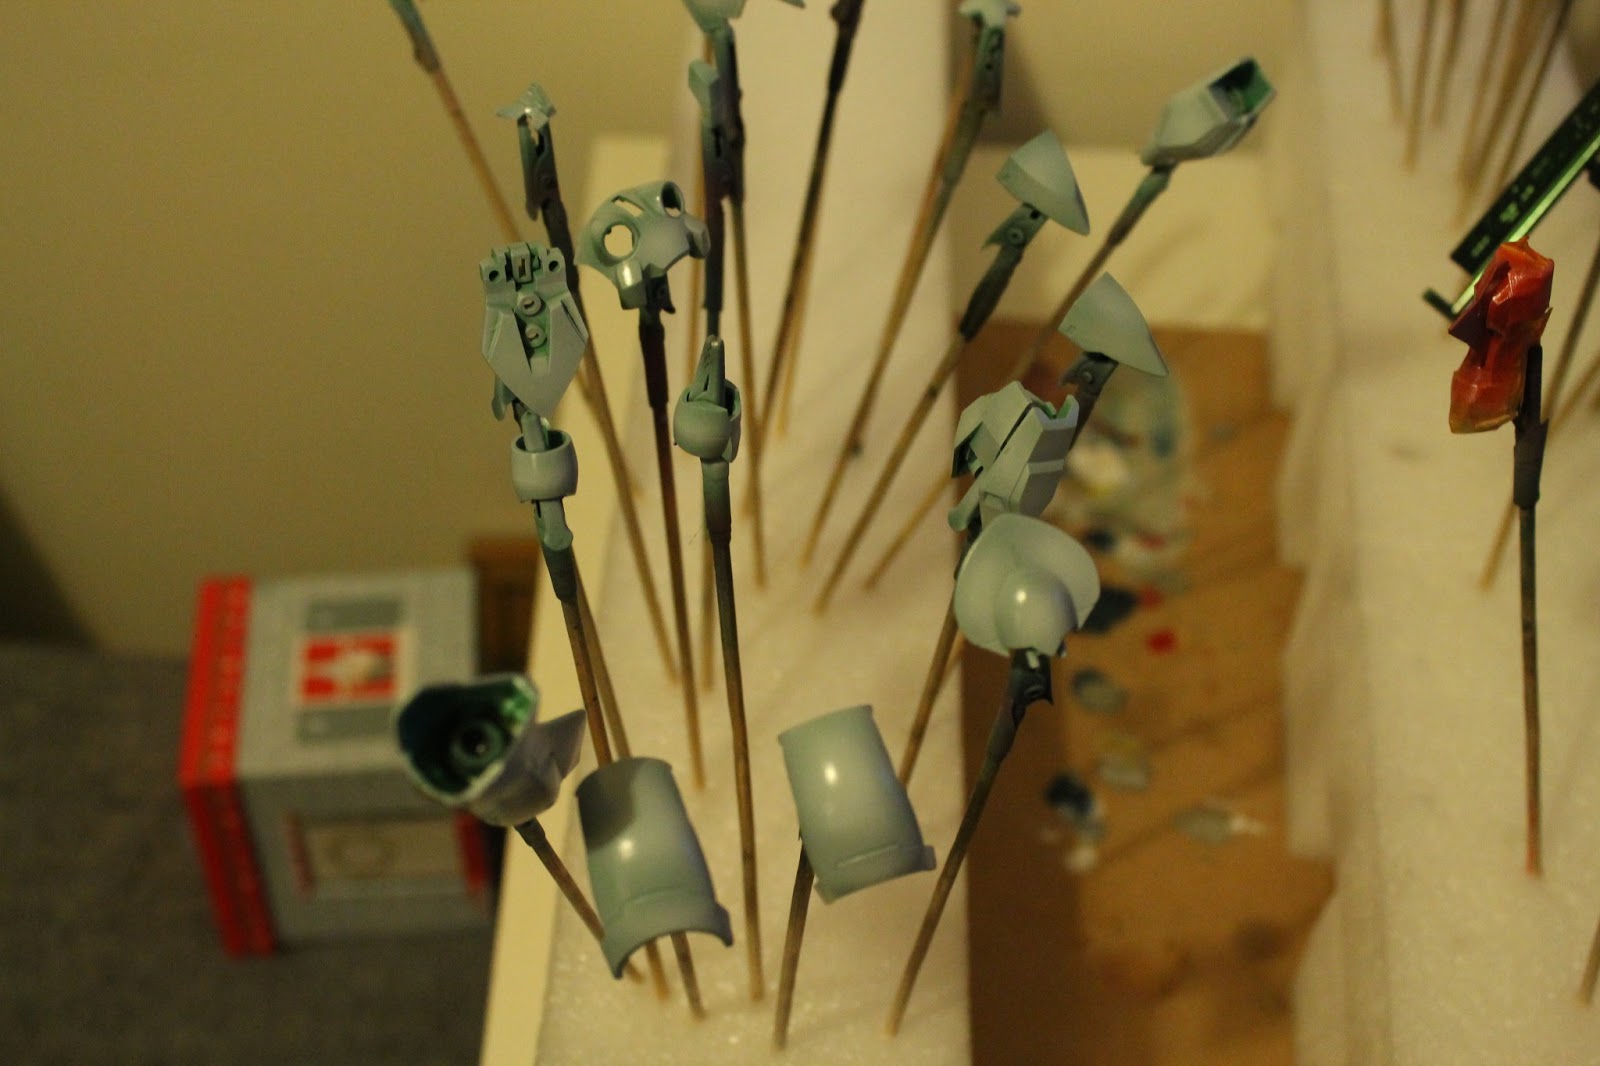
I started this one around 3 months ago, assembled, cleaned and de-nubbed but have only now got around to painting it.. partly because I wanted to do a good job of it :)
Started out with the inner-frame parts of the legs, the intention being to have it mainly in metallic blue, and some parts in gold/silver for a little detail. So far I have done all the main painting, and all that remains now is to gloss coat and panel line.
Here are a few pics of the work so far:
F91, preassembly, 3 months back.
There is also quite a long vid for you to gander at here:
The Gadessa is now complete! Took a little work to complete those buggered up prongs, but I was quite pleased with how well I managed to scratch-build those prongs. Its a little dodgy and wonky in places but you would have to look quite closely to notice the defects.. and it would have been nice to add a metallic detail part here and there.
All in all, I think the model turned out well although I could have possibly spent more time working on the details - the thrusters for instance I could have masked off and added a gold metallic effect on. On retrospect, I think the emerald green and gold would have been a nice combination.
Here are a few pix of the completed model:
..And here is my final (and very short) WIP video on youtube:
I was aiming to conclude this model this weekend but as fate has it, I ran into a little bit of a problem...
The 3 "prongs" that attach to the main weapon were all painted up in gunmetal, with a coating of clear black (as I felt most of the gunmetal parts, after priming were a little too light) were masked so I could paint the inner "rail" yellow. Unfortunately I masked way too early and did not allow enough time for the acrylic to fully cure.. as a result, after painting the mask the paint peeled off along with the masking tape, leaving a patchy, horrid finish. Needed to all be stripped off, and started again.
Anyway, I decided to dunk all 3 parts into lacquer thinner - massive mistake . after a few mins an icky, sticky ness appeared, and as I wiped off the excess it was very apparent that the plastic has melted real bad..
As you will see in the following vid, I had to scratch build the prongs all over again...
Apart from that, the main model is looking good. The panel lining turned out good, if a little dirty and some finer details have been added. Now all it needs is a gloss coat, and its more or less done.
Completion hopefully next week, I just need to figure out a mechanism to attach the prongs to the main body of the weapon.. I don;t think I am doing too bad considering its my first ever time I have had to scratch build parts!
Having put the Geara Zulu on ice (need to give thought as to whether I need to strip it of its paint or not) I have embarked on starting the awesome looking HG Gadessa from Gundam 00.
Having taken a long look at the cover artwork, and being somewhat inspired by recent views by other modellers I thought I would try something a little different, and go metallic on some parts. The idea formulated is over complex, just decided to make all of the pale-green parts a deep, emerald green.
Here are a few picture of how it is going so far, followed by a short video:
Hello strangers! Yes, Its been a little while, but i have been working on the Gera Zulu Angelo Super use. As you can see form the below, I have primed, base coated and in some cases highlighted, quite a bit to go though.
The purple parts turned out a little strange, in mixing up a supposed "lighter" shade of purple to highlight with, it somehow turned out darker, resulting on a quite bizarre 2-tone purple effect. The alclad turned out marvellous as it always does, and the blue on the shoulder pad parts and waist armour turned out pretty nifty too. My only drawback is the royal blue I was using for the torso and feet turned out no so royal blue.. more just blue in fact and not all that different from the normal blue I used for the shoulder armour.. perhaps I will highlight, not sure yet. Gunmetal and masking the weapons, as well as that tricky trim all to be done next weekend.
After completing the Rick Dias MG I thought I should take the pace down a bit with a HG model, and decided to build the "Geara Zulu Angelo Sauper use". I say take it down a bit.. in fact this is probably going to take some time, the trim on this kit is very detailed so no doubt i'll be frustratingly hand-painting the detail on this kit. Progress to follow in later posts.
Still having a think about what to do for the chaos GB. I have a model in mind, the Kagasuchi-kou from Kotobukiya (with some additional modifications in the shape of missile launchers, and "AA" style guns, still being planned). I have bought the model but unfortunately it's on backorder form HLJ so I am in for a bit of a wait..so having some thoughts about a possible diorama. I should also probably consider another model in case this one has troubles getting to me.. hmmmm.
The festive period provided me with lots of time to get the Rick Dias done, all in all taking only 6 days to complete on and off :)
Things that turned out well: The red armour parts I was very pleased with, initially I thought I had mixed up the highlighting red too pink, but it was thin enough to not cover the red entirely, so the final effect was a nice "char" style highlight.
Things that went OK: The grey and black parts. The finish could have been a little better but that was down tot he primer mainly :)
Thanks that did not go so well: The thrusters.. I have no idea why I thought spraying alclad II chrome, over a matt finish primer would result in a chrome finish.. I neglected to add a coat of gloss enamel and thus it took several hours for the alclad to dry, in a more "brushed steel" look than the chrome I was after. Hey ho, you live and learn. I also primed some gunmetal parts in white, resulting in some gunmetal parts coming out very silvery. Did not matter too much however due to it being on the inner frame, and the silvery-ness of the gunmetal actually looked pretty good on the models piping.
The result: Pretty happy actually, once the matt topcoat was added it all came together. The MS design itself is incredibly sturdy, and although one of the right arm joints was loose it did not really pose a problem when it came to attaching the clay cannon. Really enjoyed this build, and would totally recommend it to anyone else looking to build an MG. Definitely one of my favourite builds so far.
Enough talking, here's some pictures!
I also took the liberty to film this build from start to end, so if you like here's how I did it!